When a child’s birthday or a holiday arrives, few gifts spark as much excitement as a personalized letter shaped like the iconic silhouette of Mickey Mouse. This craft combines visual storytelling with fine‑motor practice, making it a hit with parents who want to give their kids a memorable, handmade keepsake.
Why a Mickey Mouse Letter Makes a Difference
Kids are instantly drawn to familiar characters, and the playful geometry of Mickey’s ears and round head transforms an ordinary letter into a fun, instantly recognizable object. The craft encourages spatial reasoning—kids learn to think about shapes, proportions, and how a two‑dimensional form can represent a three‑dimensional object. Moreover, a handcrafted letter becomes a tangible reminder of a special occasion, turning a simple piece of paper into a cherished memento.
Materials and Preparation
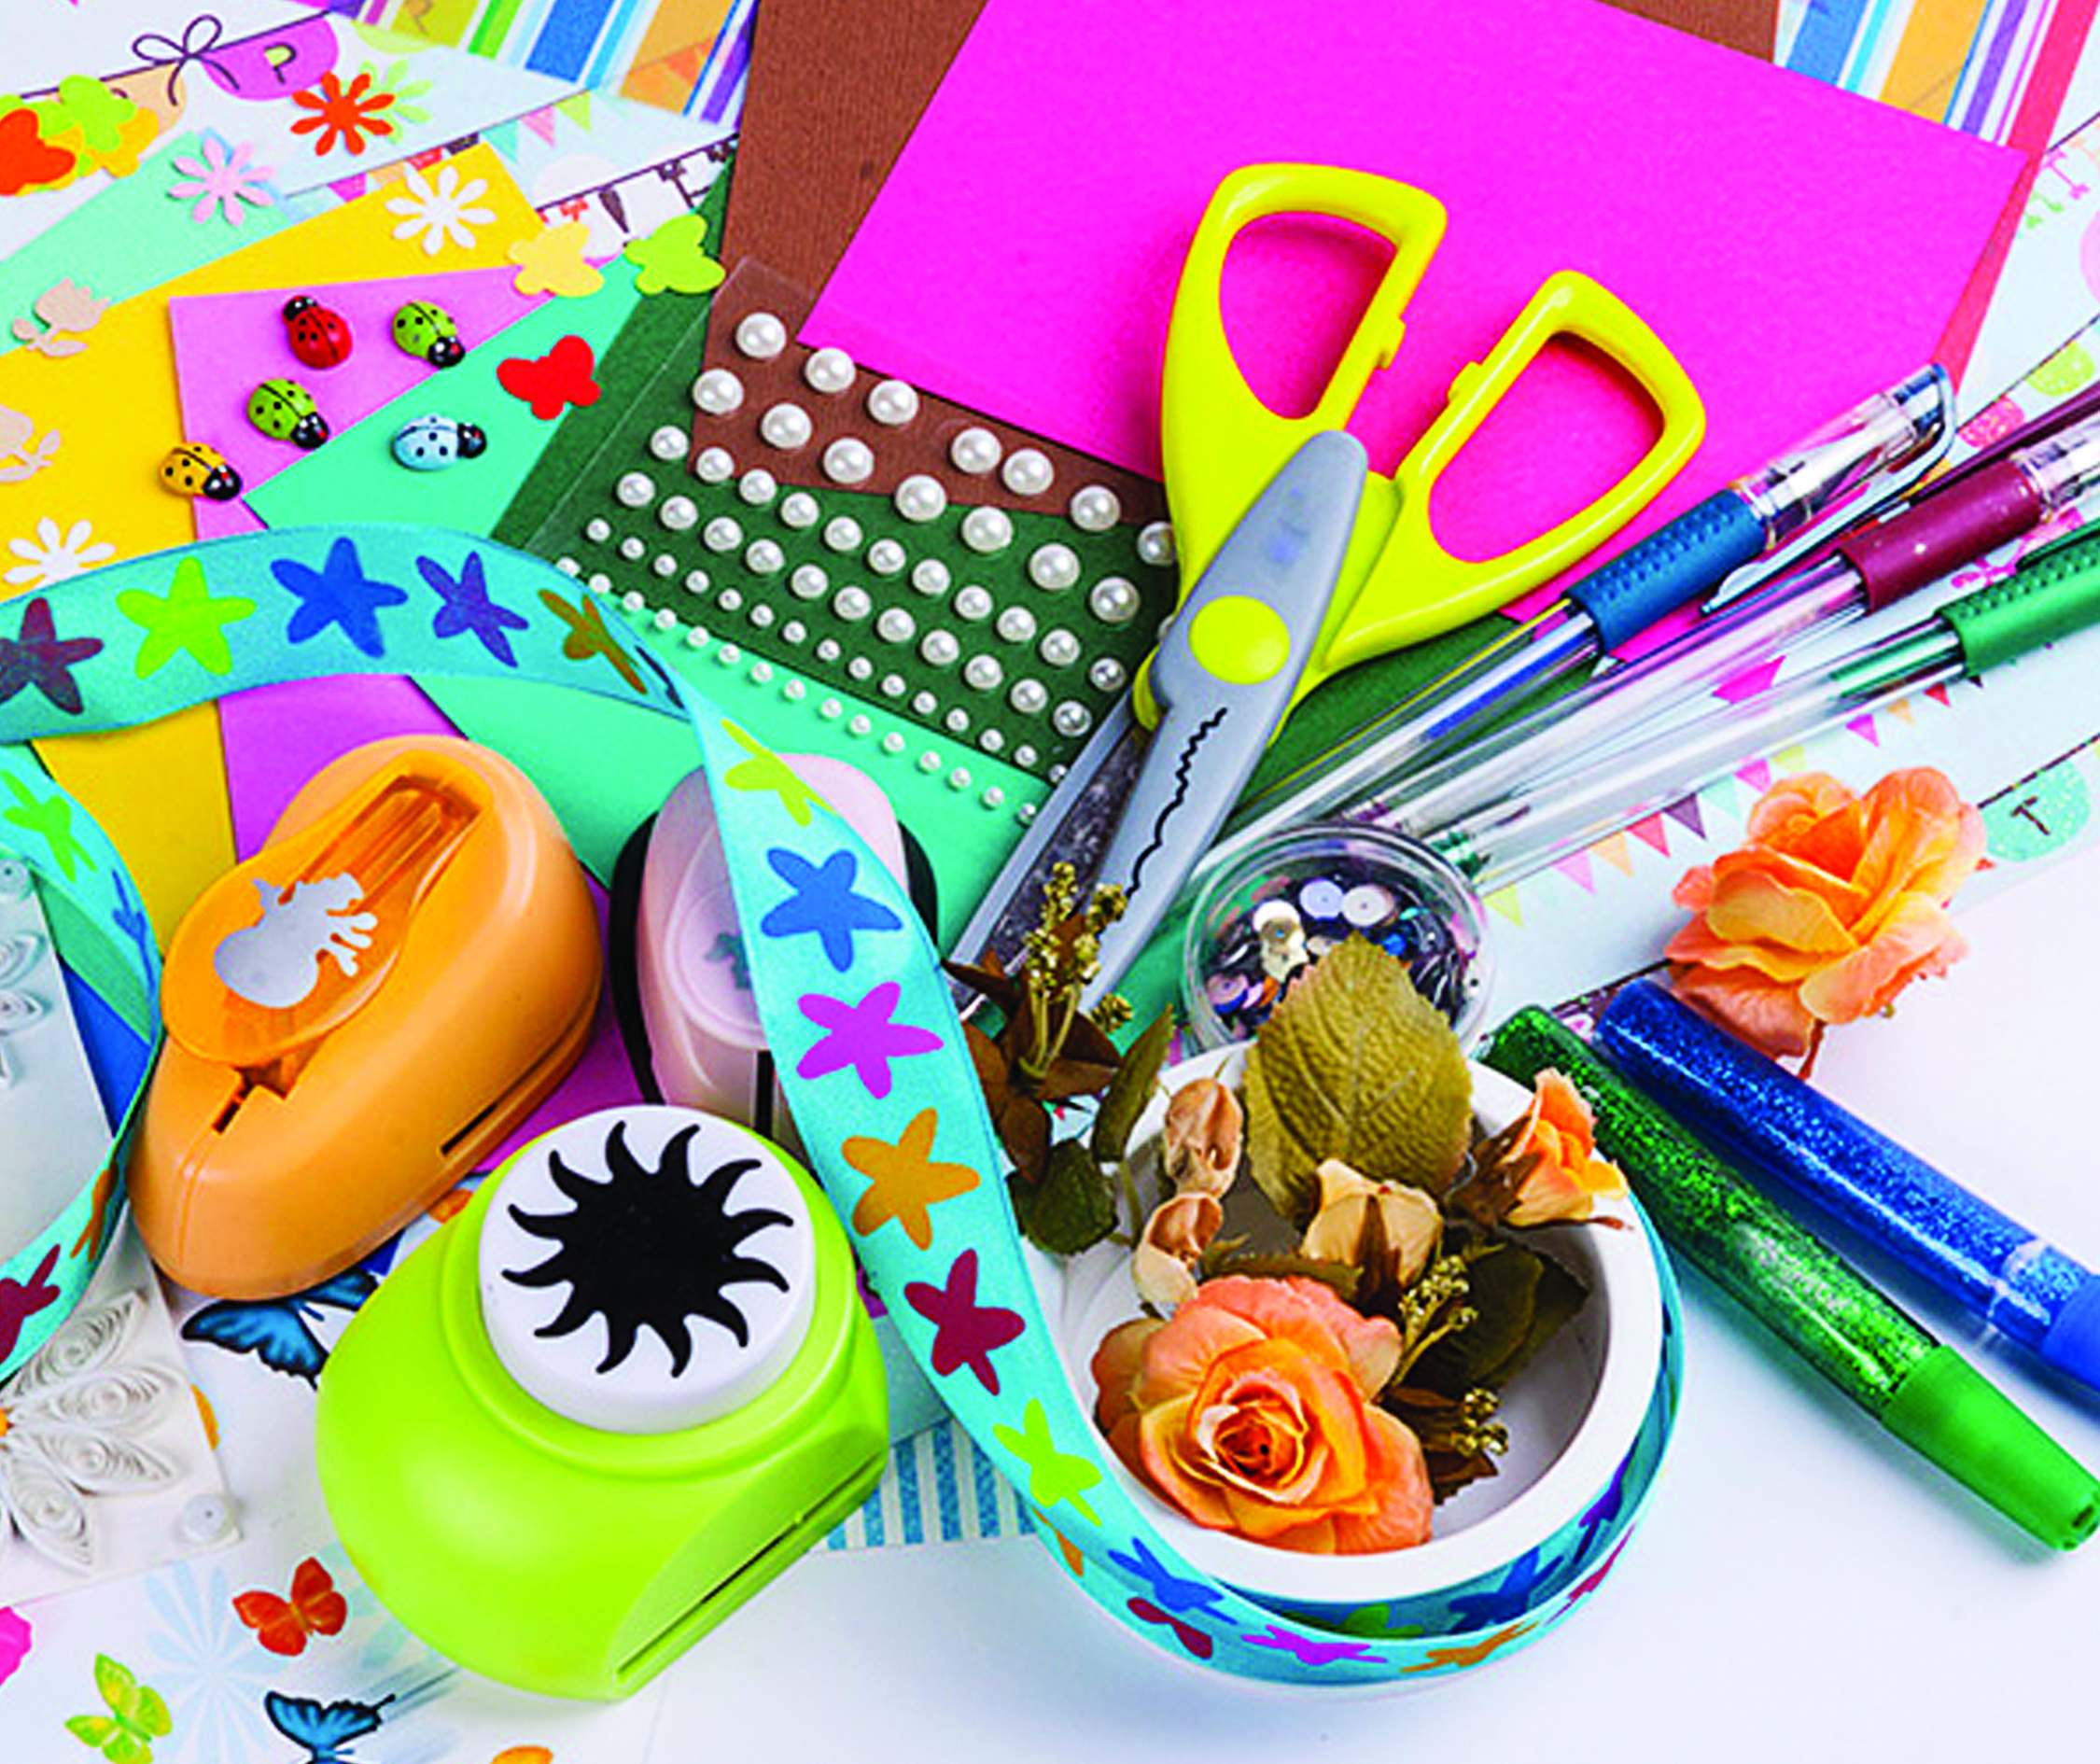
- Heavy‑weight cardstock or foam board (8½” × 11” or larger)
- Cut‑out Mickey Mouse template (paper or printed stencil)
- Scissors, rotary cutter or X‑Acto knife, cutting mat
- Ruler and pencil for measuring
- Optional: colored markers, paint, or collage elements for embellishment
- Adhesive (double‑sided tape, glue sticks, or photo‑e‑glue)
Begin by printing or drawing the template on a thin sheet. The template should include a clear outline of the head and ears, with a cut‑out hole in the center for the letter. Using a ruler, trace the outline onto the chosen cardstock, then cut around the shape with a precision knife for crisp edges.
Step‑by‑Step Process
- Sketch the Letter – Inside the central opening, lightly pencil the desired alphabet character in uppercase. The letter should be centered and sized so that it remains legible when the card is folded.
- Cut the Letter Out – Using a small craft knife or an X‑Acto knife, carefully excise the letter. Keep the cuts neat; this will be the focal point when the card is displayed.
- Decorate – Once the letter is in place, embellish the exterior with your chosen media. Bright markers, a splash of paint, or a collage of cut‑out shapes add visual interest. If you’re aiming for a “golden” effect, a thin line of metallic paint around the ears can emulate classic Mickey design.
- Assemble – Fold the cardstock along the mid‑line to create a pocket that holds the letter. Secure the fold with a small amount of glue or double‑sided tape. The letter should appear to hover above the card, giving it depth.
- Finish the Frame – For a polished look, trim any uneven edges and apply a protective coat of clear acrylic spray. This step preserves the craft for years to come.
By following this routine, even parents with minimal DIY experience can produce a high‑quality, personalized letter that stands out among store‑bought stationery.
Creative Variations and Tips
Once the basic letter is complete, consider tailoring the piece to the child’s interests:
- Color Themes – Match the color scheme to the child’s favorite palette or to the event’s décor.
- Texture Layering – Attach a strip of felt or foam around the ears to add tactile depth, especially appealing for younger children.
- Interactive Elements – Punch a small slot into the card’s surface and insert a removable sticker or a small toy that can be swapped over time.

Impact on Learning and Play
Beyond its aesthetic charm, the craft serves as a practical learning tool. Children practice letter recognition, fine motor control, and spatial awareness—all while engaging in a beloved narrative world. Parents can leverage the finished product as a teaching aid: reading the letter aloud, spelling the word, or using it as a cue for counting activities.
When completed, the Mickey Mouse letter can be displayed on a classroom bulletin board, a kitchen wall, or gifted to a younger sibling. Its universal appeal ensures that it resonates across age groups, making the craft both a personal gift and an educational resource.
In a world saturated with digital greetings, crafting a handcrafted Mickey Mouse letter offers a tactile, creative alternative that celebrates tradition while encouraging hands‑on learning. Parents and teachers alike will find this activity an engaging bridge between imagination and skill development, ensuring that each letter written carries a story and a smile.
Craft Like A Pro: Crafting Tips & Tricks To Up Your DIY!
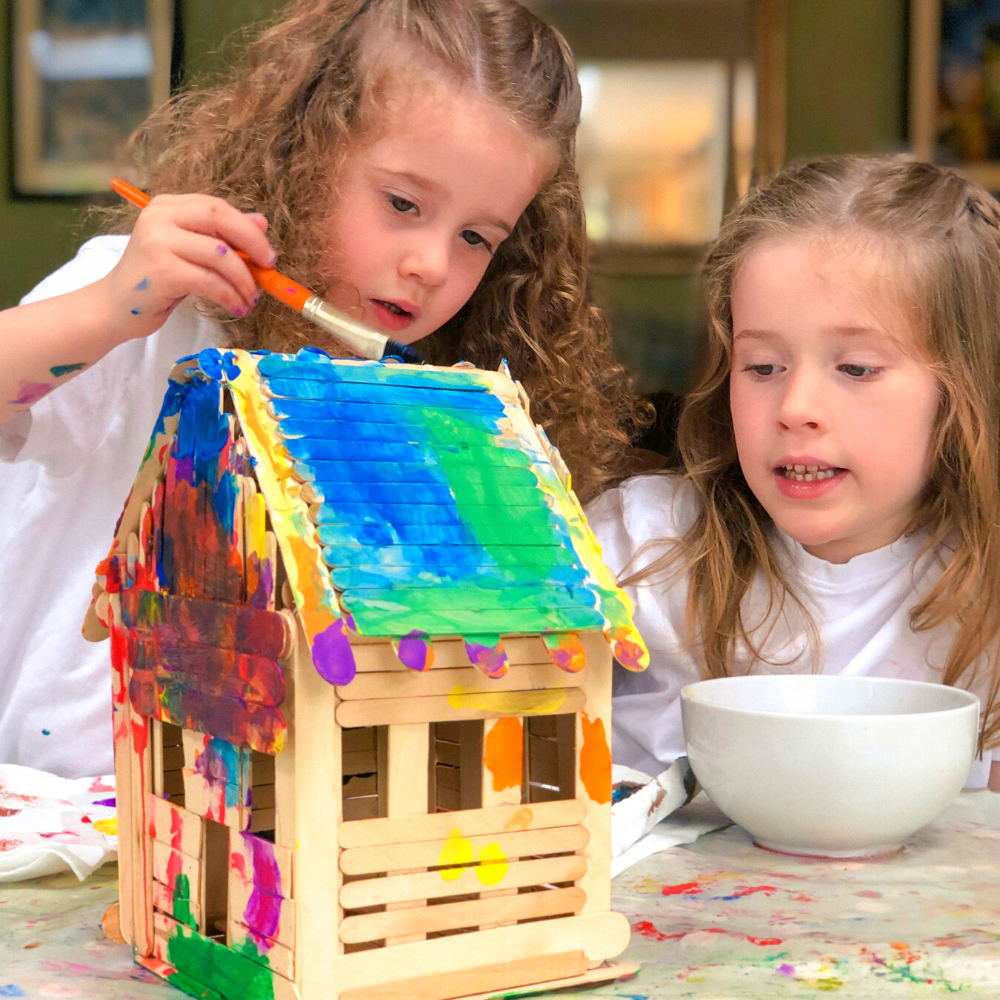
Craft Like a Pro: Crafting Tips & Tricks to Up Your DIY!
Crafting Instant Digital Download Printable Wall Art Image Clipart PNG

Crafting Instant Digital Download Printable Wall Art image Clipart PNG ...
Crafting Instant Digital Download Printable Wall Art Image Clipart PNG

Crafting Instant Digital Download Printable Wall Art Image Clipart PNG ...